Custom booking form (steps & fields)
You can extend the public booking form with additional steps and custom fields (text, choice, and other input types). Customers complete these steps when they book online. This guide walks through configuring the form from the dashboard.
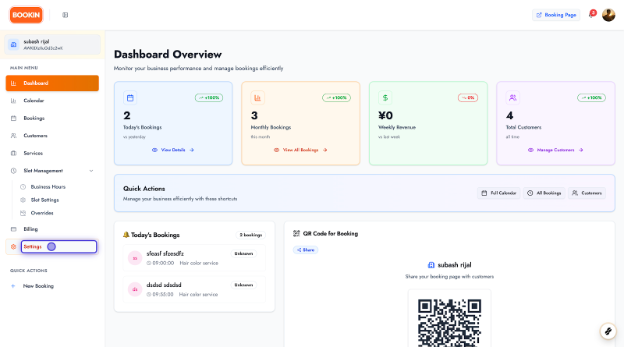
Open Settings
Section titled “Open Settings”From the dashboard, click Settings in the navigation.
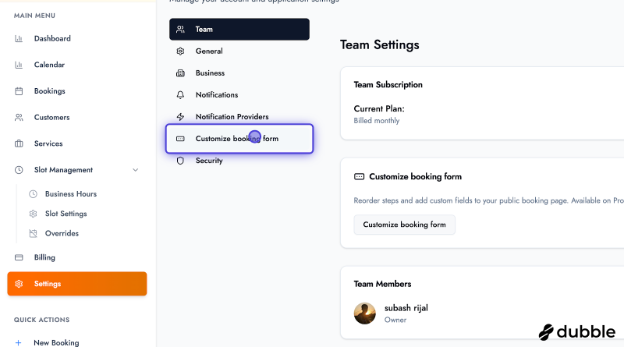
Open the booking form editor
Section titled “Open the booking form editor”On the Settings screen, select Customize booking form to open the booking form configuration.
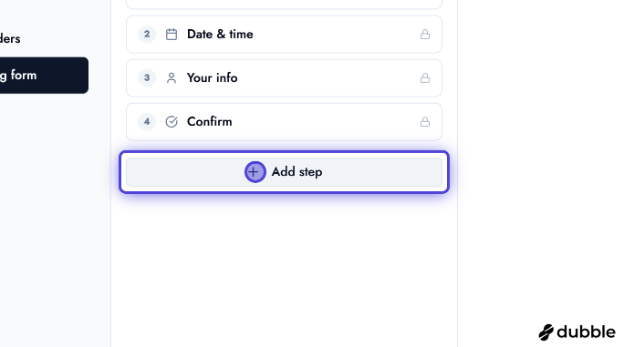
Add a step
Section titled “Add a step”In the booking form editor, click Add step to create a new step in the flow. Steps group related fields and appear in order for customers.
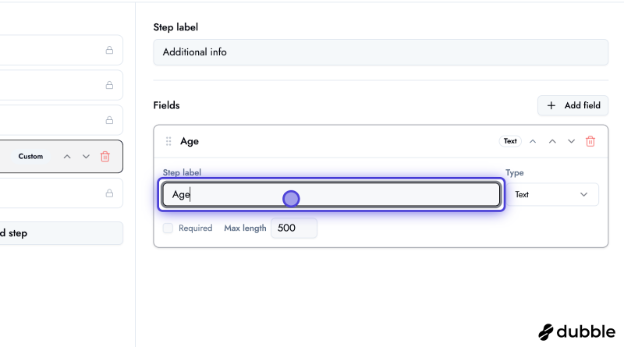
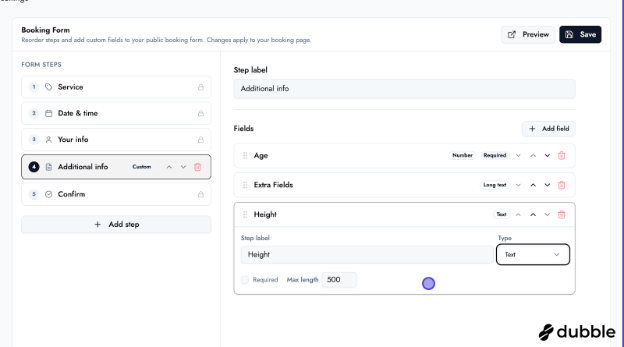
Edit the step label
Section titled “Edit the step label”Rename the step so it clearly describes what you are collecting (for example, intake details or preferences). The label is shown to customers.
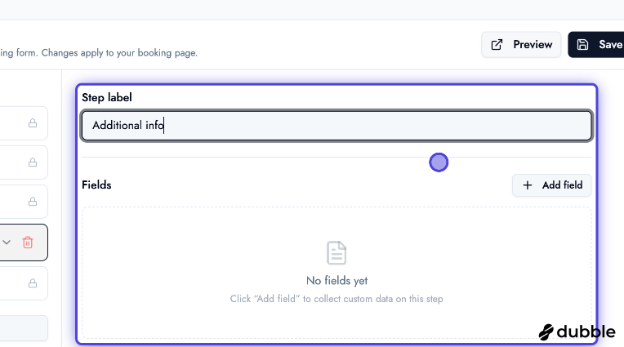
Add a field to the step
Section titled “Add a field to the step”Click Add field within the step to define a new question or data point.
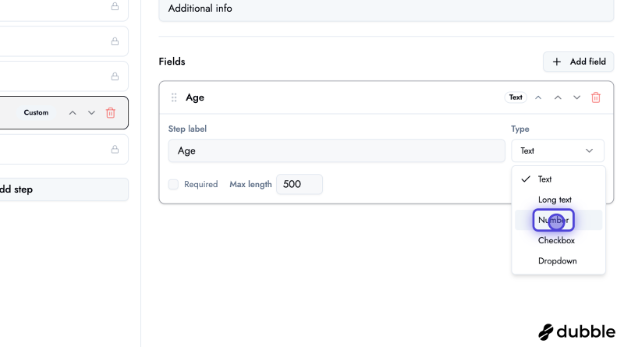
Choose the input type
Section titled “Choose the input type”Select the appropriate input type for each field (for example, short text, long text, number, or selection options, depending on what the product offers).
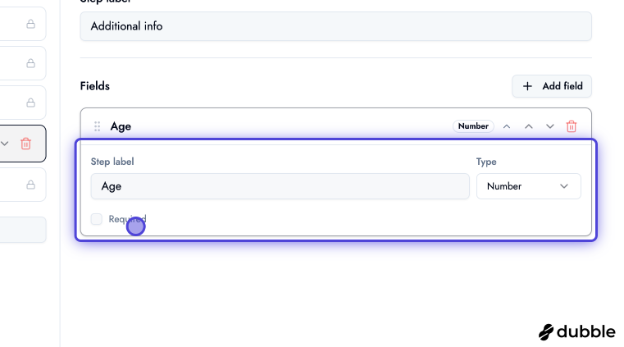
Mark a field as required (optional)
Section titled “Mark a field as required (optional)”Enable Required when customers must answer before they can continue. Leave it off for optional questions.
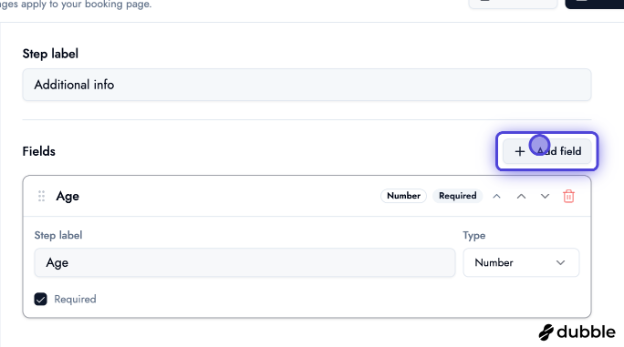
Save the field
Section titled “Save the field”Click Add field (or the equivalent confirm control) to add the field to the step.
Example: multiple fields on one step
Section titled “Example: multiple fields on one step”You can add several fields to the same step—for example, multiple short questions—so customers complete them in one screen before moving on.
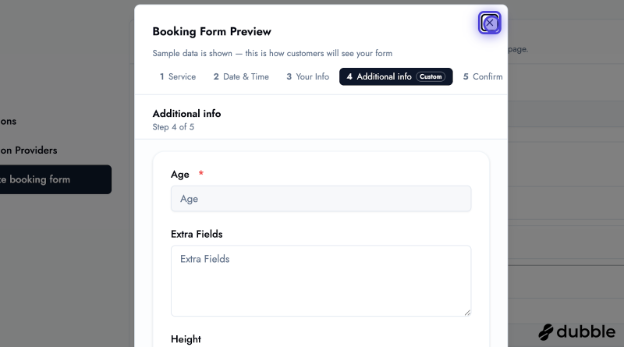
Preview the form
Section titled “Preview the form”Use Preview to open a modal and see how the configured steps and fields will look during booking.

Review the customer-facing flow
Section titled “Review the customer-facing flow”Use the tabs in the preview (or the booking flow navigator) to step through the same path your customers see—services, time, details, and any custom steps—before publishing.
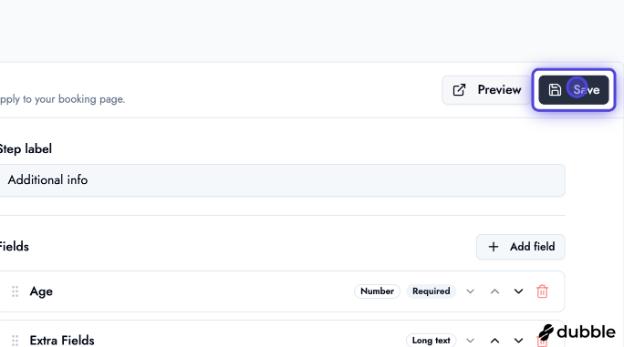
Save your changes
Section titled “Save your changes”When the form matches what you want, click Save so your updates apply to the public booking experience.
Next steps
Section titled “Next steps”- Settings & Configuration — Account, business profile, and team settings
- Managing Services — What customers book
- Business Hours & Time Slots — When bookings are offered