
Creating a New Service
This guide walks through adding one service: open Services, create a new entry, set name, description, duration, image, optional price, and save.
Before you start
Section titled “Before you start”- Sign in at bookin.biz. You’ll land on the Calendar.
- You need permission to manage services — owners and admins have it; members don’t.
Step 1 — Open Services
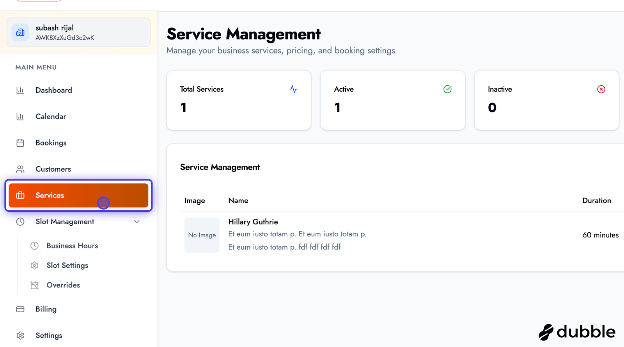
Section titled “Step 1 — Open Services”In the sidebar, open Services. The page is titled Service Management.
Step 2 — Add a new service
Section titled “Step 2 — Add a new service”Click Add New Service.
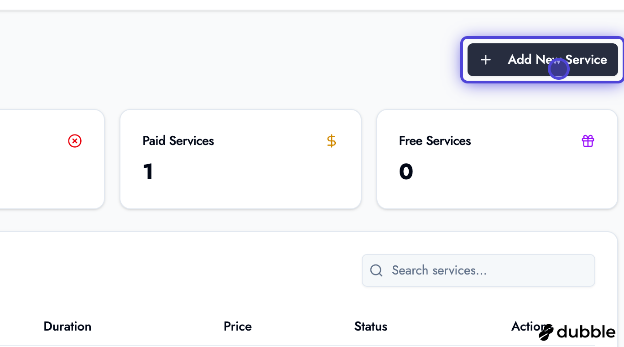
If the button is disabled and reads Limit Reached, you’re at your plan’s service cap — see Billing & Pricing.
Step 3 — Service name
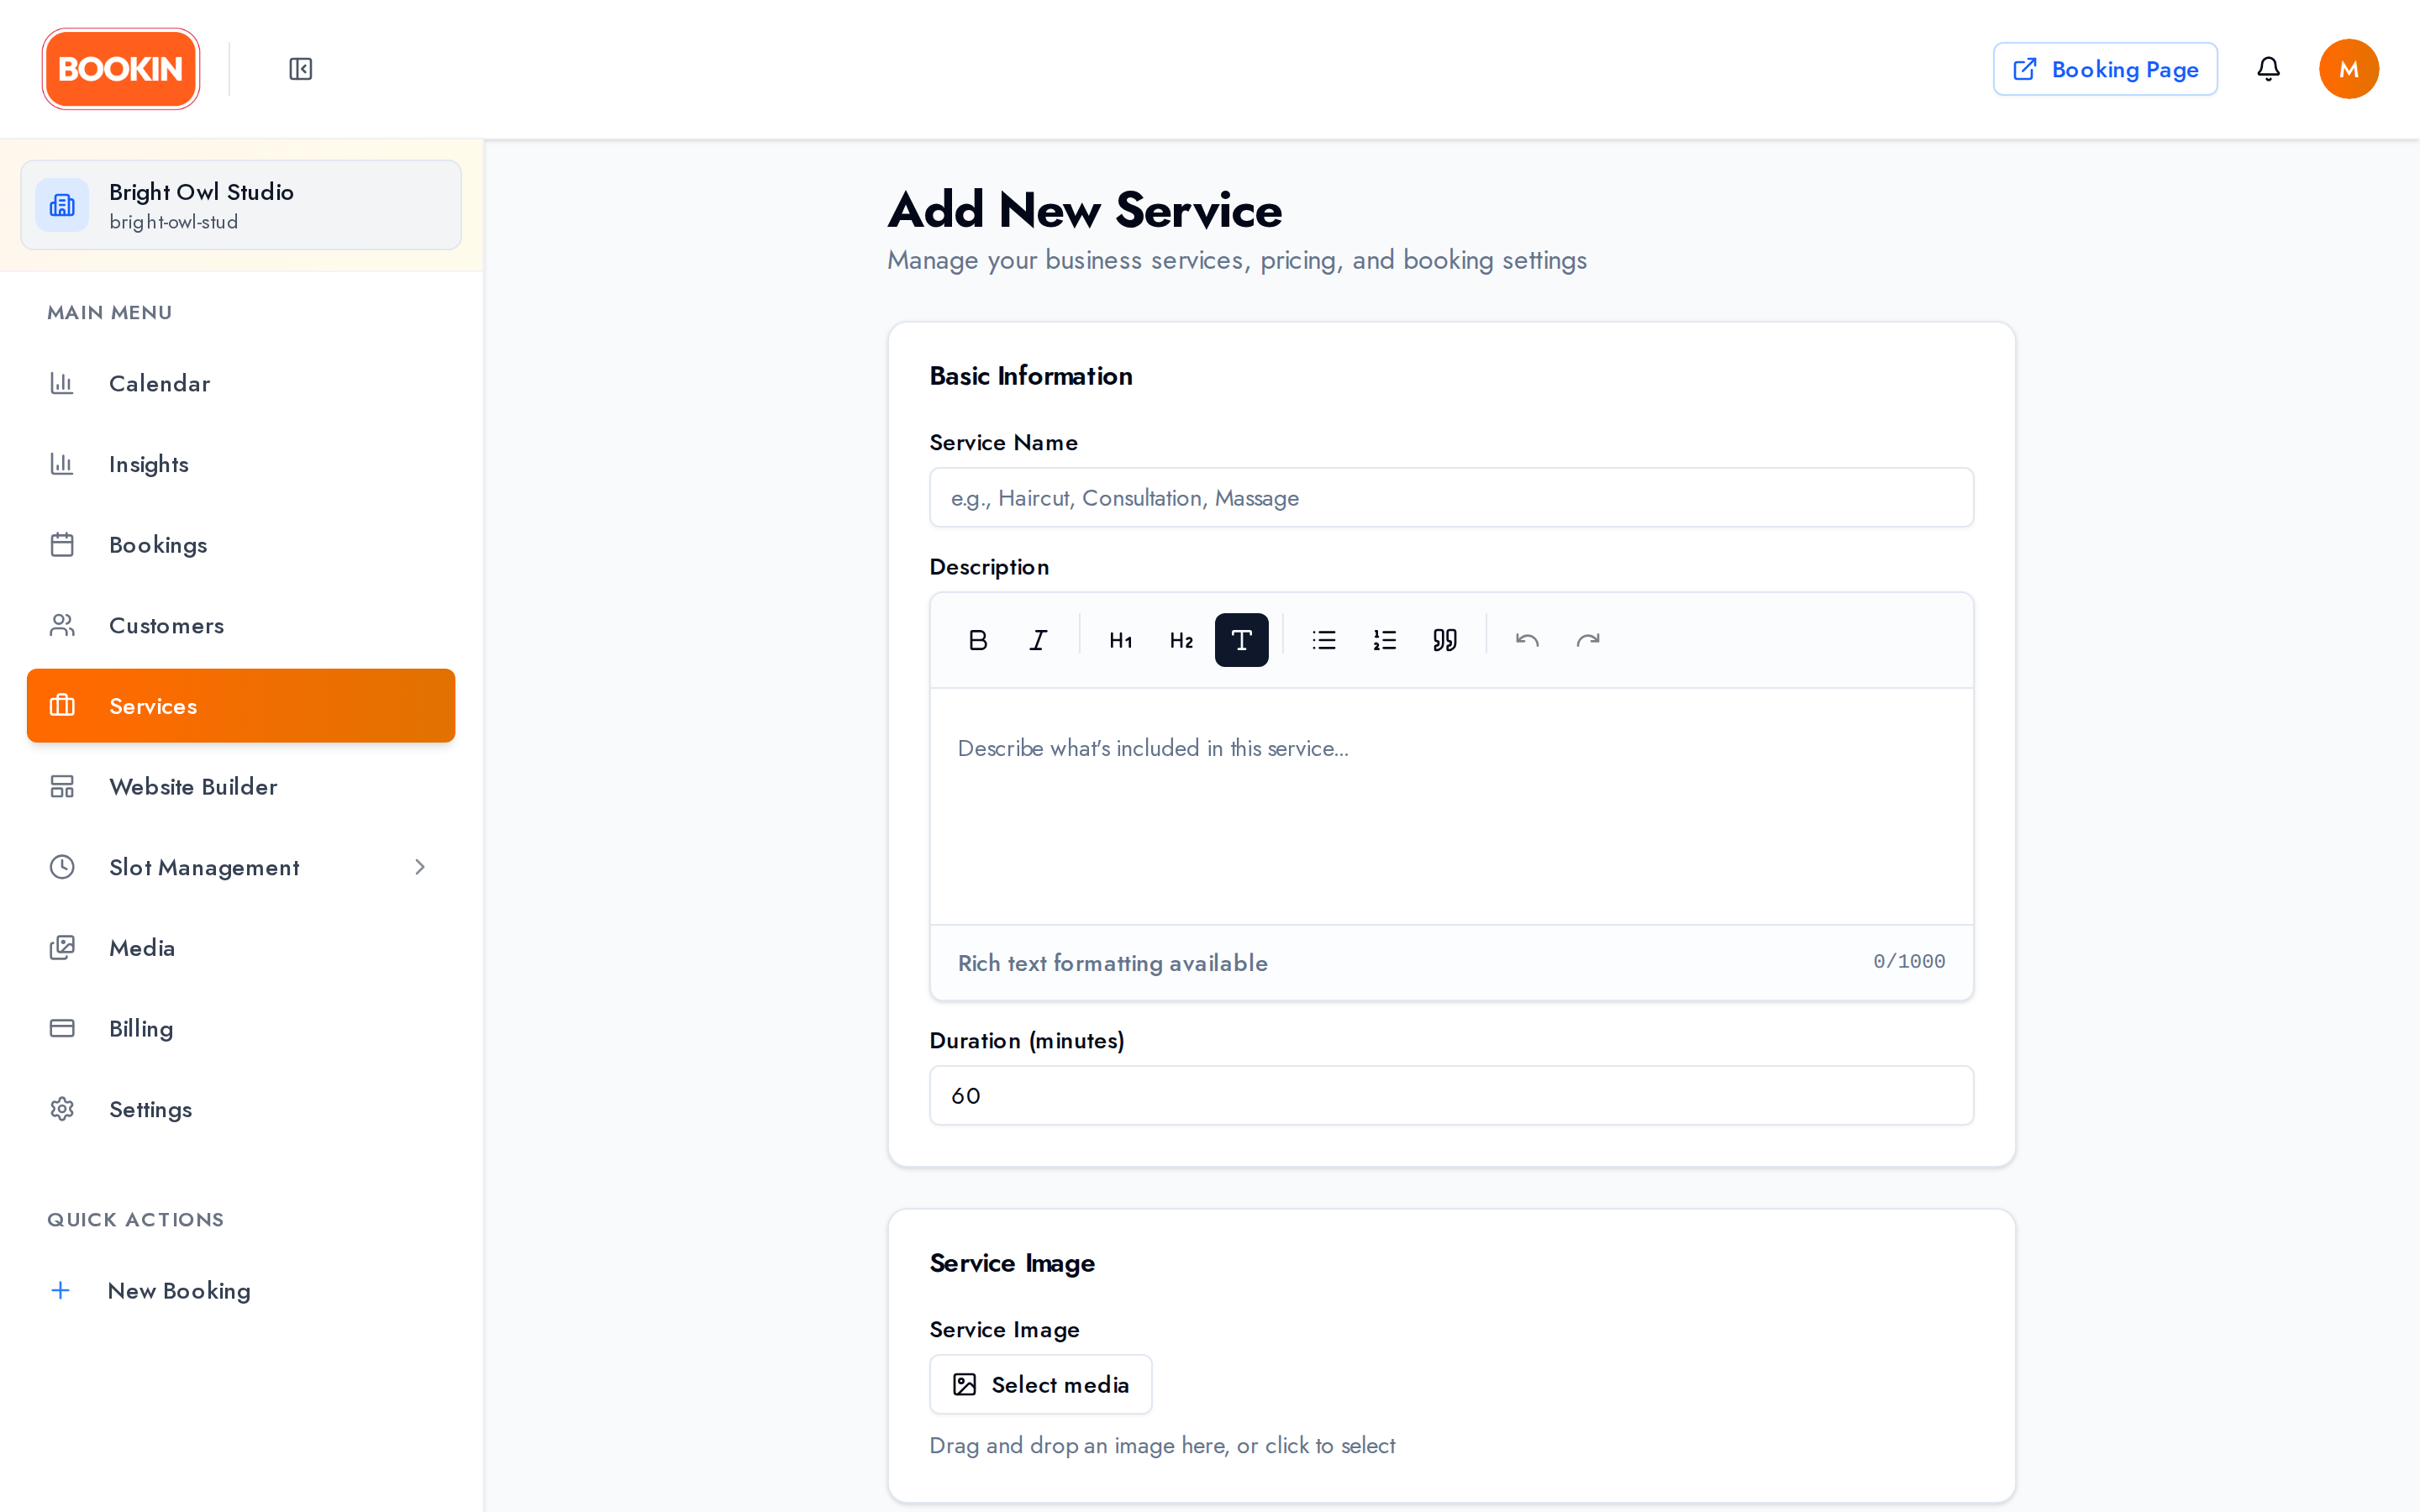
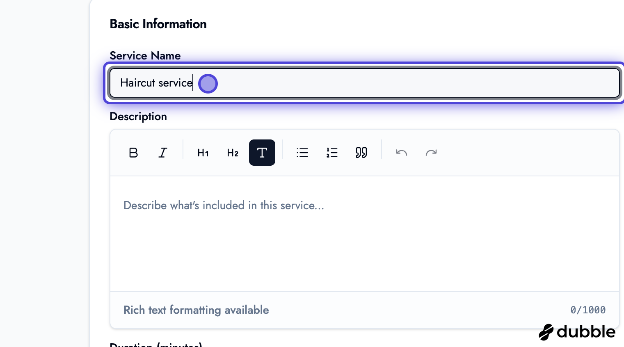
Section titled “Step 3 — Service name”Enter a name. This is what customers see on your booking page, so use their words: Haircut, Consultation, Massage.
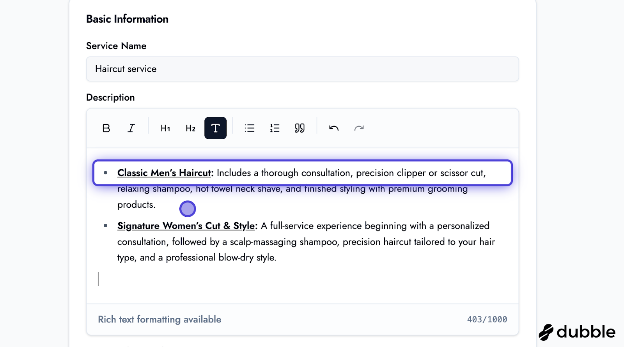
Step 4 — Description
Section titled “Step 4 — Description”Add a description of what the service includes. The editor supports formatting, lists and links.
Step 5 — Duration
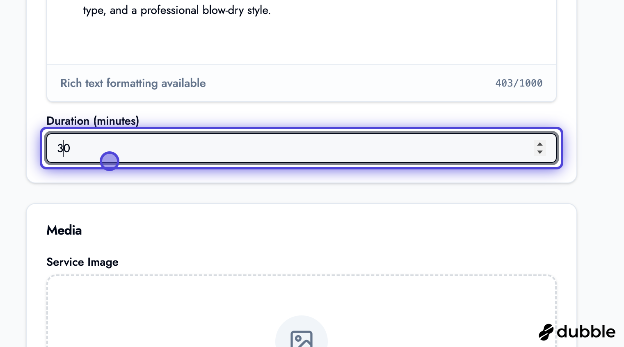
Section titled “Step 5 — Duration”Set the duration in minutes — anything from 1 minute to 24 hours.
This is what reserves time in your calendar, so include any setup or cleanup you need between customers.
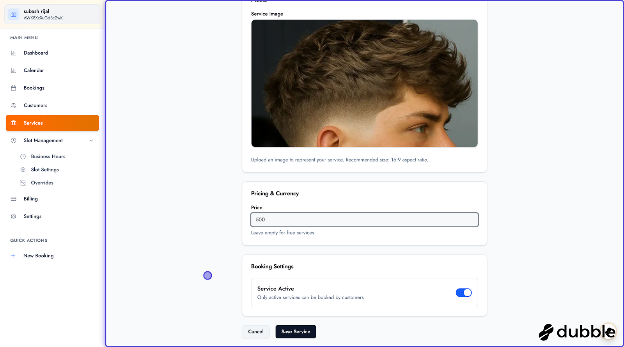
Step 6 — Service image
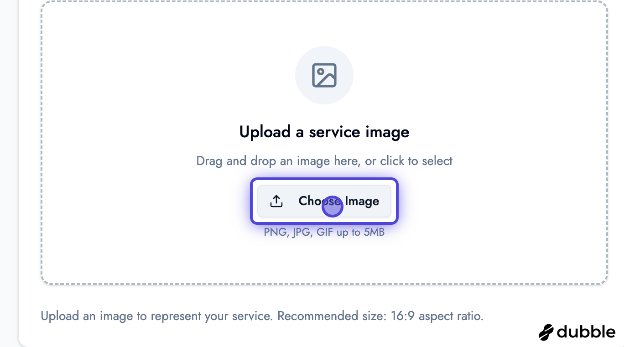
Section titled “Step 6 — Service image”Choosing an image opens your Media Library. Pick something you’ve uploaded before, or add a new file — up to 5 MB, PNG, JPG or GIF.
Step 7 — Crop the image
Section titled “Step 7 — Crop the image”The Crop service image dialog opens once you’ve chosen a file. Adjust the crop so the important part survives at small sizes, then apply.
Step 8 — Price
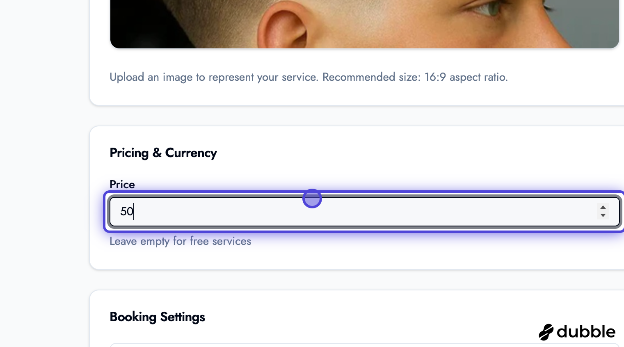
Section titled “Step 8 — Price”Enter the price and currency.
Leave it empty for a free service — that’s how free is expressed, and the service list will show it as Free.
Step 9 — Make it bookable
Section titled “Step 9 — Make it bookable”Under Booking Settings, check Service Active. Only active services can be booked by customers.
Step 10 — Save
Section titled “Step 10 — Save”Review and click Save. The service is live on your booking page immediately.
Next steps
Section titled “Next steps”- Managing Services — Edit, deactivate, delete, and plan limits.
- Business hours & time slots — When bookings are allowed.
- Settings & configuration — Business profile and booking options.